How to Clean and Maintain Your Baby Bottle Drying Rack (So It Actually Stays Sanitary)
A bottle drying rack only works if it stays clean. Here's how to maintain yours—daily rinse, weekly deep clean, and monthly inspection—so it keeps your baby's gear safe.
Why Drying Rack Maintenance Matters
A bottle drying rack sits in one of the wettest spots in your kitchen. Without regular care, residual milk, hard water deposits, and trapped moisture create the perfect environment for mold and bacteria—exactly what you're trying to avoid by washing bottles in the first place.
The good news: keeping your rack sanitary takes just a few minutes a day.
Daily Care Routine
- Empty the drip tray. Standing water is the top culprit for mold growth. If your rack has a removable drip tray—like the GoMaihe Baby Bottle Drying Rack does—dump it and give it a quick rinse every evening.
- Shake off excess water. After washing bottles, give each one a shake before placing it on the rack. Less water on the rack means faster drying and less buildup.
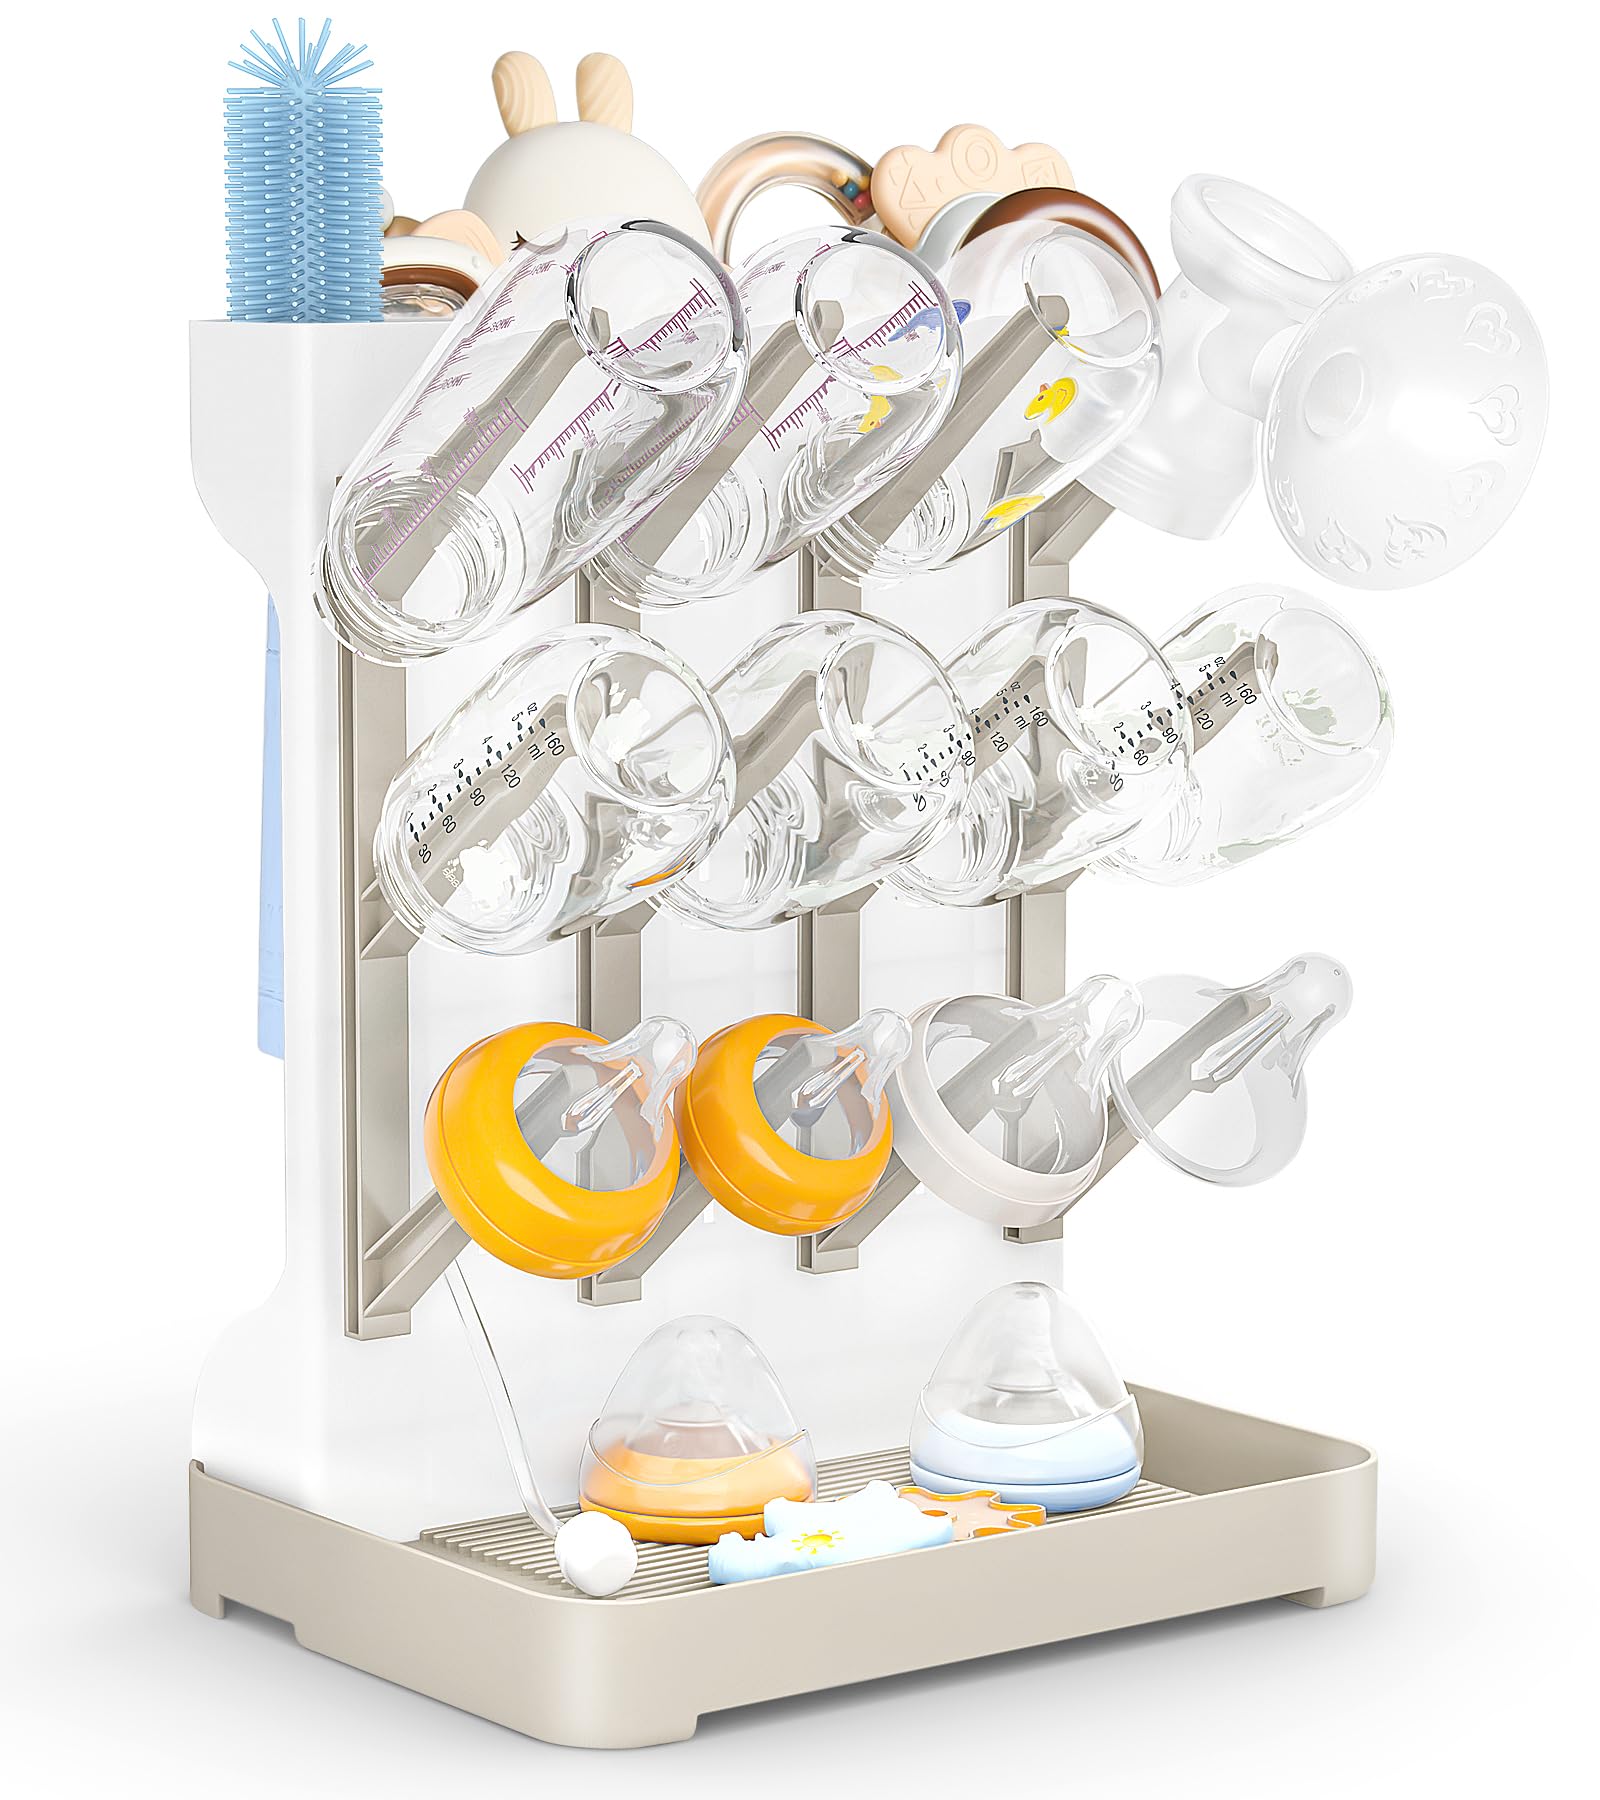
- Leave space between items. Overcrowding blocks airflow. The GoMaihe Baby Bottle Drying Rack holds up to 12 bottles, but spacing them out lets the 72° angled stand do its job—letting water slide off instead of pooling.
Weekly Deep Clean
Once a week, give the entire rack a proper wash:
- Disassemble everything. Remove the drip tray, any detachable pegs, and the top and bottom storage trays.
- Wash in warm soapy water. Use mild dish soap and a bottle brush to scrub inside pegs and corners where residue hides.
- Rinse thoroughly. Any soap film left behind can attract grime faster.
- Let it air-dry completely before reassembling. A damp rack reassembled is a mold invitation.
Food-grade PP plastic—like the BPA-free material used in the GoMaihe Baby Bottle Drying Rack—holds up well to regular washing without warping or degrading.
Monthly Inspection Checklist
| Check | What to Look For | Action |
|---|---|---|
| Pegs and prongs | Cracks, discoloration, or residue | Scrub with a narrow brush; replace rack if cracked |
| Drip tray | Mineral deposits, pink/orange film | Soak in white vinegar for 15 min, then scrub |
| Base and trays | Warping, trapped debris in corners | Clean crevices with a toothpick or cotton swab |
| Stability | Rack wobbles or tips easily | Tighten or replace—tipping risks contamination |
Quick Tips to Extend Rack Life
- Keep the rack away from the stove—heat and grease accelerate wear.
- Don't overload accessory trays with heavy items like full pump bottles.
- If your rack lives next to the sink, move it an inch back—splashes add up.
The Verdict
A well-maintained drying rack is a small investment that pays off in peace of mind. The GoMaihe Baby Bottle Drying Rack makes maintenance straightforward: its removable drip tray, detachable storage trays, and tool-free 2-minute assembly mean you can break it down and rebuild it for cleaning without hassle. At a budget-friendly price point and rated 4.7 out of 5 stars, it's a practical choice for parents who want capacity without sacrificing counter space.
Who It Suits
Parents with limited counter space who need to dry 6–12 bottles plus accessories. Anyone using both narrow and wide-neck bottles, or glass bottles. Great baby shower gift for first-time parents building their feeding setup.
Who Should Skip
Households drying only 1–2 bottles a day may find the capacity unnecessary. If you prefer a dishwasher-only drying workflow, a dedicated rack may be redundant.
Related Buying Guides
- WONDERKID vs AUSTOR Self-Closing Outlet Covers: Which Slide Mechanism Is Smoother for Daily Use?
- Best Baby Shower Gift: Carrier Bib Sets That New Parents Actually Need
- Backseat Organizer with Tray Table vs. Without: Which Setup Actually Works for Daily School Runs?
- Baby Won't Keep Earmuffs On? Troubleshooting Infant Hearing Protection
- Beginner's Guide to Baby Diaper Cream: What Every New Parent Needs to Know
- How to Build a Budget Travel System with a Car-Seat-Compatible Stroller